Hello everyone!
I am sorry that this post is going up quite late in the day, but I was super busy. It's 5:30 pm here, and I already had coffee with my boyfriend (it's his birthday today), made 2 Christmas trees from this post, decorated our Christmas tree, wrapped all the gifts, made some cookies, tidied my room (:D) aaaand help mom clean the house. And I still have to wash my hair, make my cheese spread for smoked salmon and help make dinner. It's been hectic. But now I'm here and I am bringing you another 3-in-1 post! This time it's all about pine cones! Here is what I came up with!
1. Pine cone ornament
What I used:
Yarn
A pine cone
Some ribbon
A glue gun
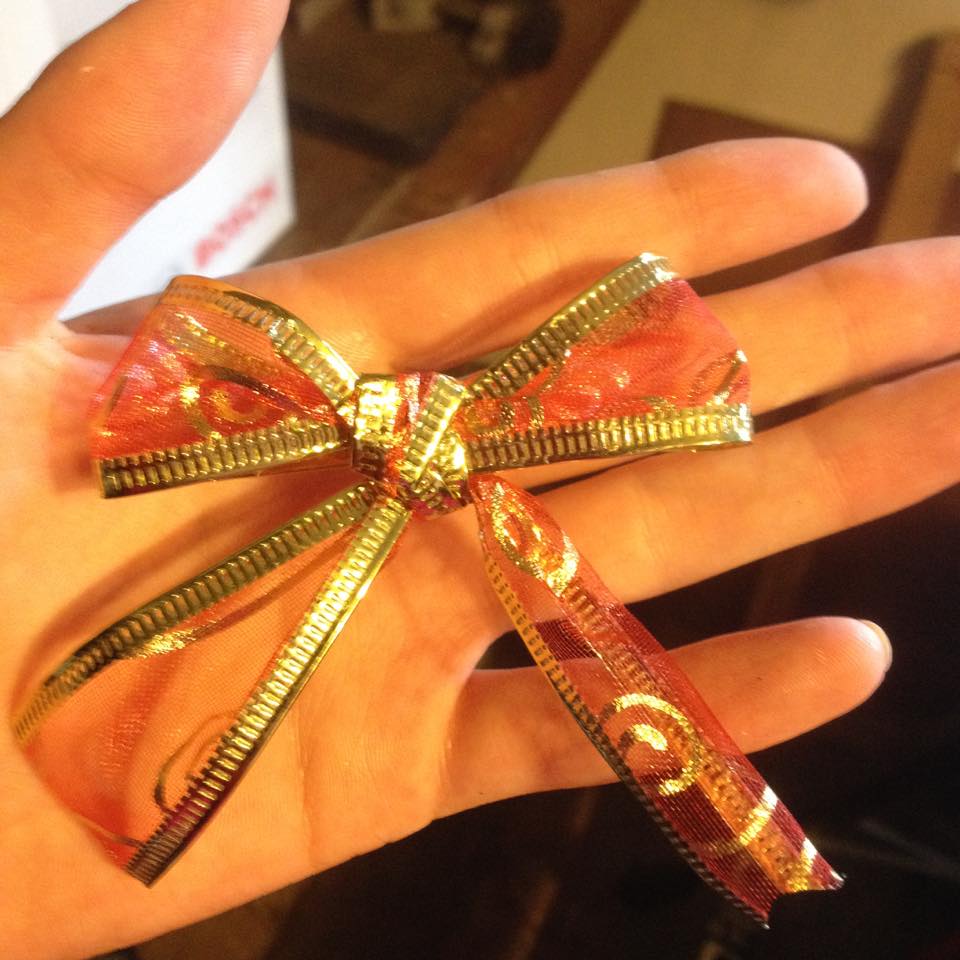
First I made a bow of a ribbon.
Then I made a loop of yarn, so that the ornament can be put on your Christmas tree.
Then I glue gunned everything to my pine cone and that is the first DIY done! I did spray paint the pine cone gold, but you don't have to do that :)
2. Candle holder
What I used:
2 pine cones
Some ribbon
White paint
A jar
Glue gun
Fake snow (I am sorry, I forgot to take a photo of it)
Firstly, I glue gunned the ribbon around the brim of the jar and made a bow.
Then I glue gunned 2 pine cones to the front of the jar.
Then I filled the jar with some fake snow.
The last thing I did was add a candle in the candle holder.
3. Snow globe glass
A big glass
Some hard paper
A pine cone
A gold spray paint
A glue gun
Scissors
White paint
A brush
Fake snow (forgot to take a photo of it)
Some nice candles
Firstly, I placed my glass on the paper and drew a circle around the brim.
And then I cut it out. This is a base for my snow globe.
I spray painted my pine cone gold, and when it was dry, I took some white paint and painted the edges, so that it looked like snow.
Then I glue gunned my pine cone to the base.
I filled my glass with some fake snow. Make sure you don't put too much, because it will cover up the pine cone.
Then I glue gunned the base with the pine cone to the top of the glass.
And then I flipped it over.
And that's it! You can put a candle on top, or you can have it as it it :)
Did you like today's DIY post? Which project did you like the most? Will you make any of these yourself?
If you would like to share some of your projects with me, or the ones I
showed you today and last week, I would be happy if you used #KellysDiyXmas on
Instagram, Pinterest, Twitter, Facebook... I will check them out!
Check out my last week's DIY post! And my second and first week's DIY post!
I want you to have an amazing day today and I wish you a merry Christmas!
Thank you for reading!
See you soon xx Labels: DIY, tutorial